Users
Creating a User
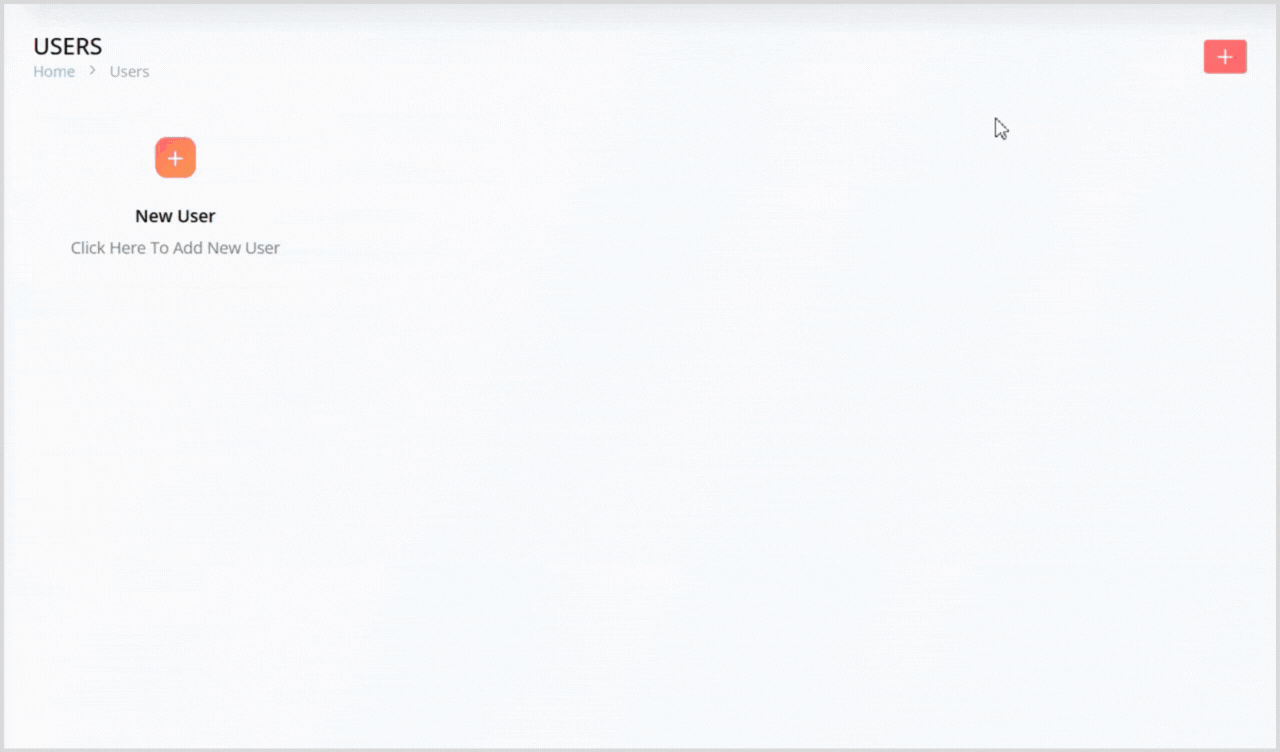
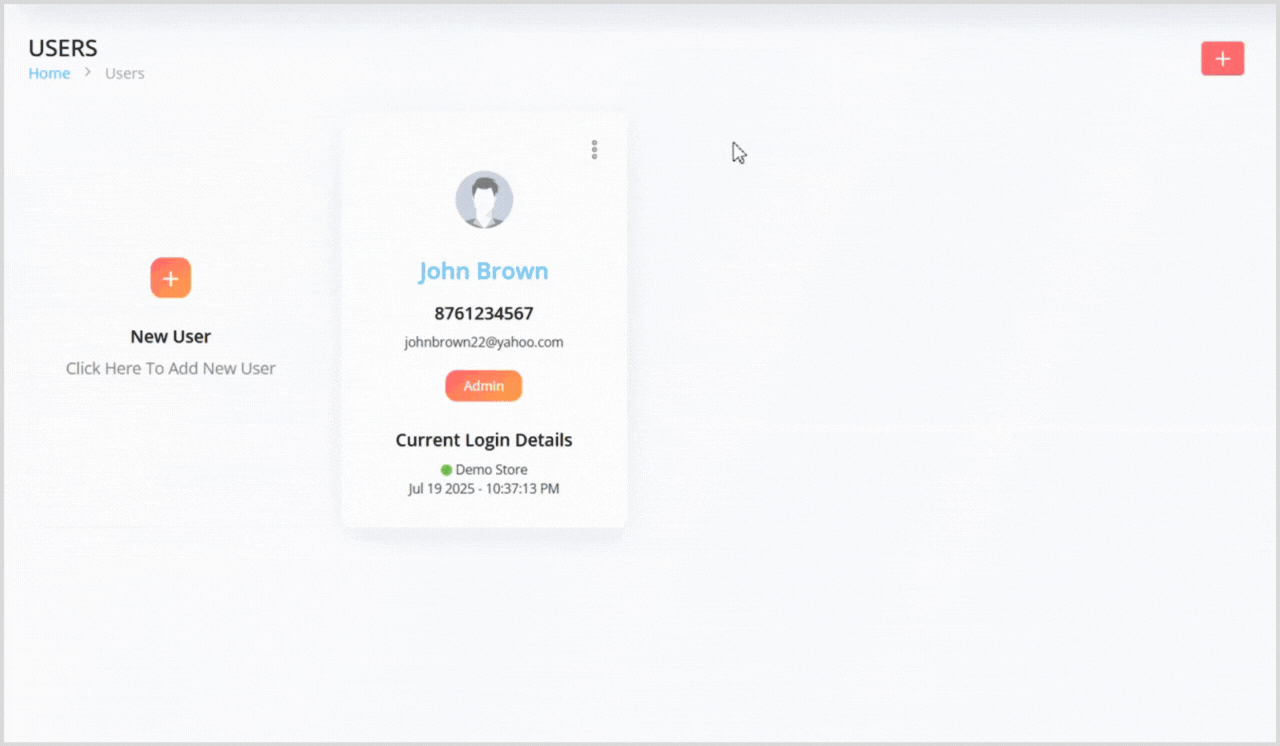
On the Users page, click any one of the plus + icon button to open a pop-up for creating a new user.
Enter the following details:
First Name: The user’s first name.
Last Name: The user’s last name.
Email: The user’s email address.
Phone: The user’s phone number.
Password: Create a password for the user.
User Role: Select a previously created role to assign to the user.
Click the Save button to create the user. They will now appear in the user grid list.
Editing a User
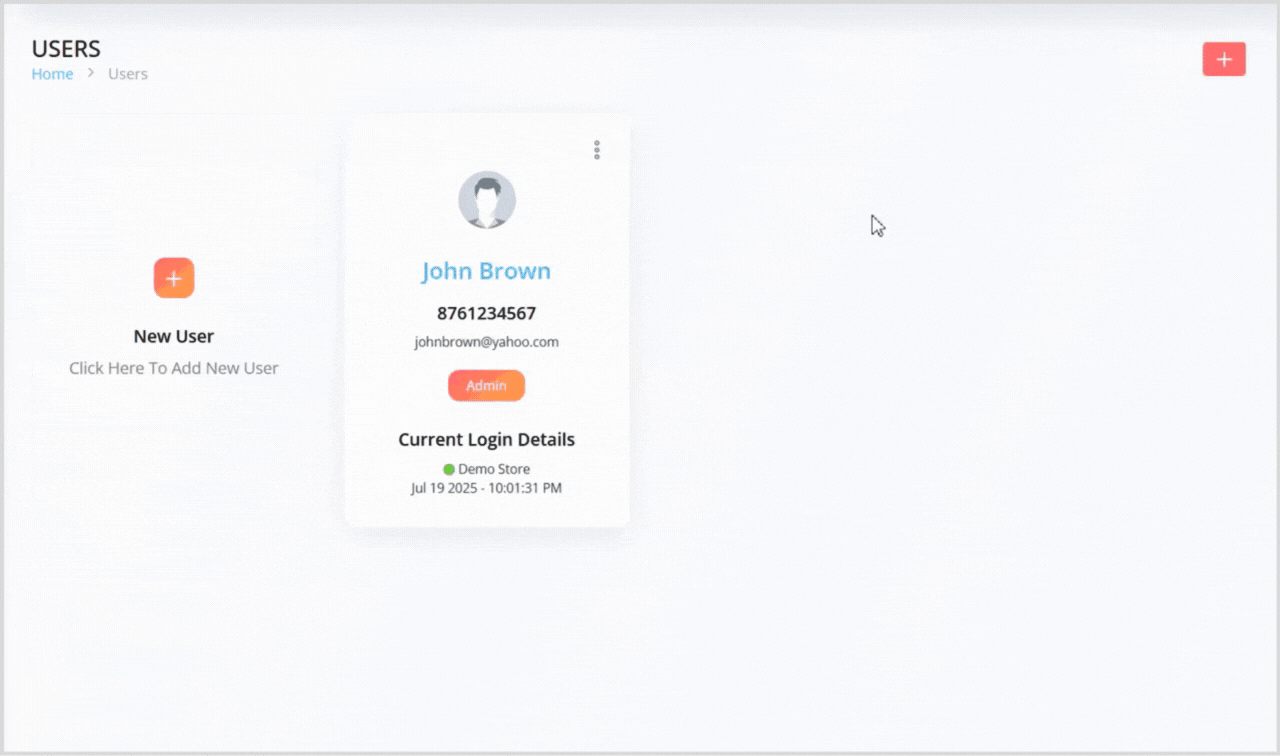
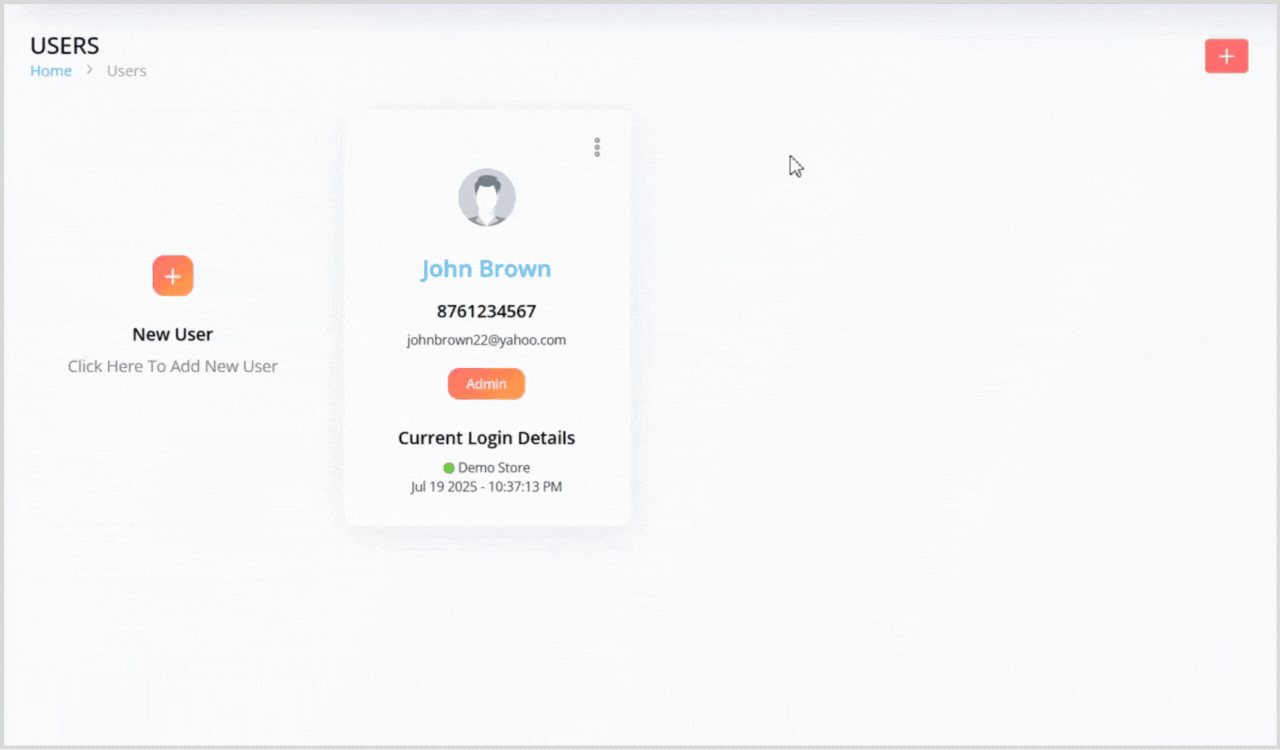
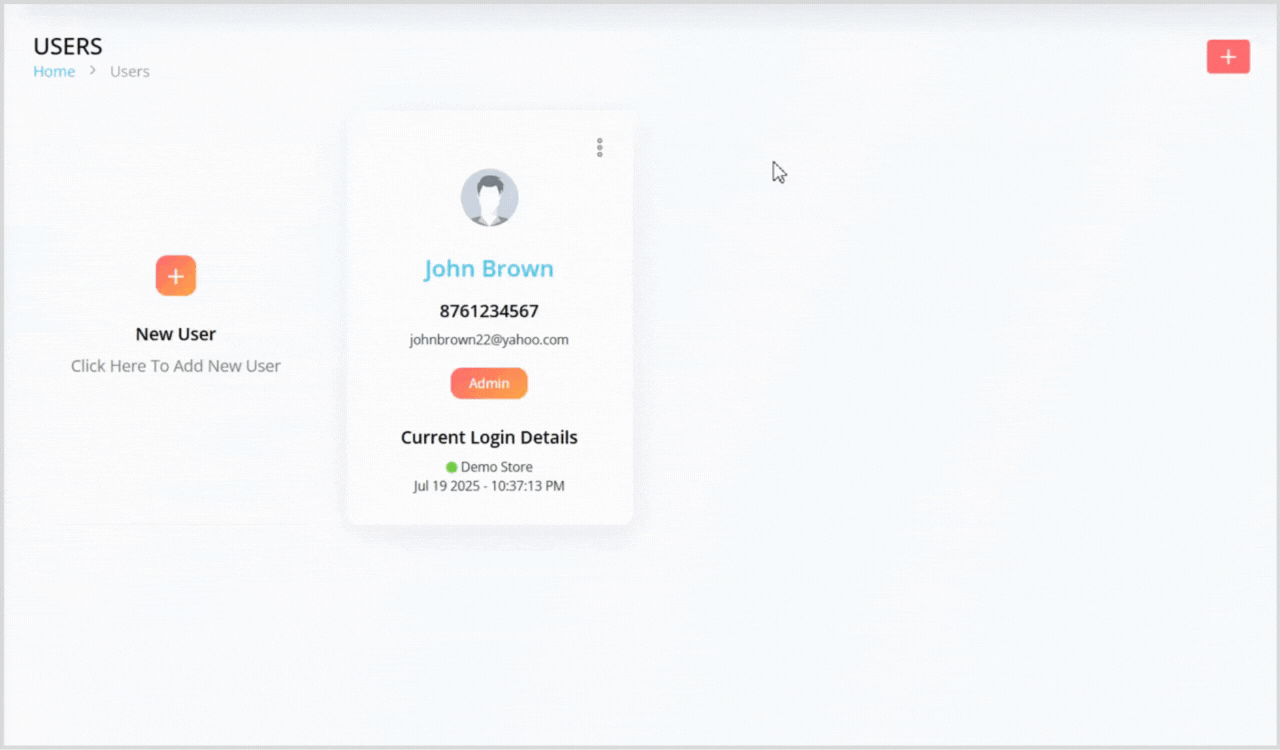
In the user grid list, find the user you want to edit.
Click the 3-dot icon next to the user and select Edit to open a pop-up with the user details pre-populated.
Update the details as needed (e.g., name, email, phone, or role).
Click the Save button to apply your changes.
Resetting a User Password
In the user grid list, find the user whose password you want to reset.
Click the 3-dot icon and select Reset Password to open a pop-up.
Enter the following:
Password: Create a temporary password for the user.
Confirm Password: Re-enter the password to confirm.
Click the Update button to reset the password, allowing the user to log in with the new credentials.
Logging in as a User (Admin Secret Login)
In the user grid list, find the user account you want to access.
Click the 3-dot icon and select Login to access the user’s account without needing their password.
The staff user account mirrors your account but is restricted based on the assigned role’s permissions. For example:
- If a user lacks permission to manage, view, or update products, the Products tab will be hidden.
- If a user can manage but only edit products, options like create, delete, or export will be removed from the products page.
Deleting a User
In the user grid list, find the user you want to delete.
Click the 3-dot icon and select Delete.
A confirmation pop-up will appear, warning that the action cannot be undone. Click the green Yes button to confirm deletion.